fbpx
house painter, exterior painter
Written by Colleen Kalil

Paint that Sells the Home

house painter, exterior painterHave you ever gone house hunting and were totally put off by an exterior or interior color that was off-putting, if not downright ugly? You’ve seen those houses painted bubble gum pink or candy cane red on the outside. It’s probably going to be the same house that has interior walls the color of a forest with neon baseboards for added interest.

Believe me when I tell you that the color of your home both inside and out can either draw prospective customers to your home if you are getting ready to sell or repel them. All indications are that if you are getting ready to sell your house, it has a better chance of moving on the market if you keep these things in mind.

Choose a color that blends well with your natural surroundings and the larger neighborhood. For example, if you live in Arizona, the overwhelming majority of homes are a shade of taupe on the outside with subtle trim and an arid, clean color on the inside. Conversely, homes in New England look better and are more likely to sell if they are a shade of white or gray with neutral trims. These colors give off a stately vibe that the potential buyer feels without having to say anything.

Blue is another popular choice for a home’s exterior, but this should be done with the same caution as choosing any other color palette. Again, a blue house would be out of place in many areas of the country. But, it would be just as much at home near a beach, especially with white trim and particularly if the color of blue is muted.

Occasionally, accent walls on the exterior of the home can provide a bold statement. It can make your house stand out while still blending into the overall neighborhood. For example, you might try a charcoal colored or indigo blue accent wall against a cream-colored house.

It’s a good idea to put some thought into the color you choose to paint your house long before you begin the process. Remember, color can draw buyers to you or send them fleeing in the other direction, even if the location is good and the price is right.

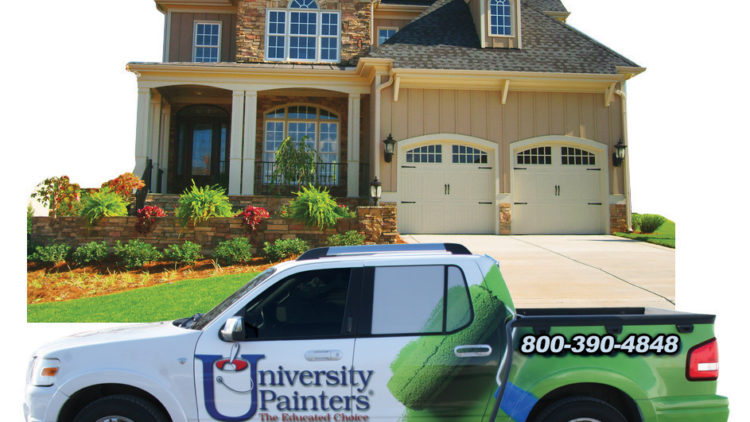
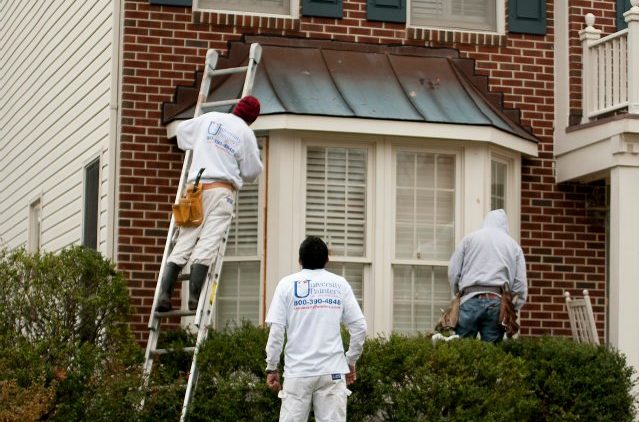
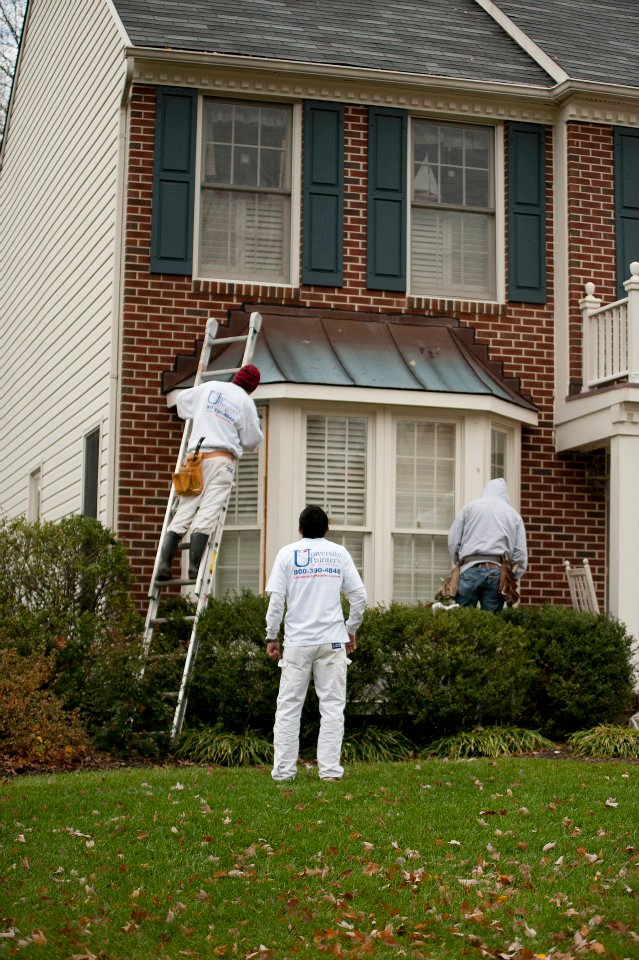
If you need some expert advice on painting your house, we here at University Painters pride ourselves on our long-standing professional service. Before you buy that first gallon of paint, give us a call. We would be delighted to work with you!

painting contractor. house painting
Written by Colleen Kalil

Mixing Brick and Exterior Color

painting contractor. house paintingA brick home offers a unique presentation. To the passerby, it can look stately. To the homeowner, it can feel like a combination of old-world charm and comfort. There was a time when the choice of brick exteriors extended only to what shade of red or chartreuse you liked. Today however, a brick home still offers the owner a variety of options to make their house look unique and stand out from the rest. This can involve either changing the color of the brick itself or the trim in complementing or contrasting pigments.

The easiest way to make a change is to paint the brick itself. This opens up a variety of choices for the homeowner. Some may prefer a muted or neutral color of paint while others may make more bold choices such as painting the brick white. The exterior of a brick home painted in white offers an entirely new and updated look. It can feel modern and chic. At the same time it opens up further options. The home’s trim can be a color that contrasts, thereby accenting and highlighting the white brick or it can remain a neutral, muted tone, such as a gray or brownish tint on the framing and door.

If you do choose to paint the brick white, take the time to look at the breadth of shades in that color. There are many toned-down whites that are not as stark, such as creams and even light beige. Some homeowners have even used a whitewash or translucent color that offers a more aged look. There are those who swear this route offers easier upkeep and a more classic appearance.

Whatever color you choose, take the extra step of painting a small portion of the house in that color prior to ‘taking the plunge’. This will help to ensure you can live with your decision before you come home to a totally new look you did not expect. Still another color that is a common choice for painting brick homes is a shade of gray. This can be equally as stunning, particularly when paired with white or charcoal trim.

Other colors that harmonize are yellow and cream, and green or black and gray. It’s up to you. And remember, if you want to keep your brick home its original color, painting the trim in a beautiful accent color can make it stand out just as much.

Whatever you choose, first choose University Painters. We are experienced in painting all types of exterior and interior surfaces and will treat your home like it’s our own!

commercial painting services
Written by Colleen Kalil

Painting Services Not Just for the Home

commercial painting services
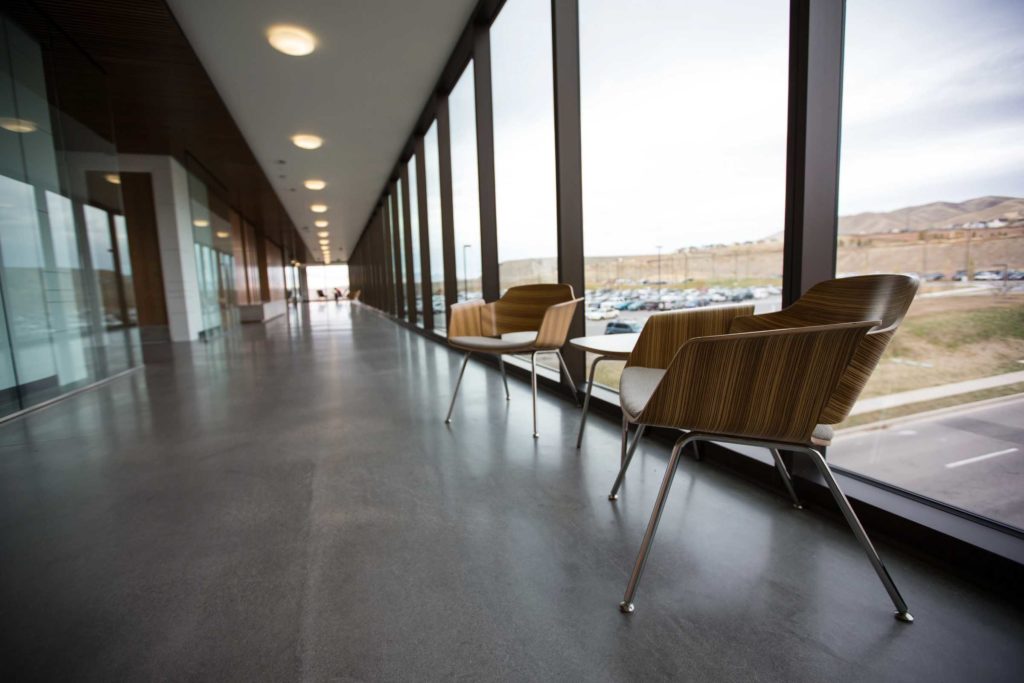
While there are millions of homes in the United States for quality, professional painting companies to stay busy, there are as many businesses that can also use the services of professional painters. In other words, the large number of new business facades or existing, established businesses can provide an entirely new business stream for professional paint companies.

If you are a business owner in need of an updated look to your store front, the following advice is relevant to securing the services of a commercial paint company to meet your needs.

Research, research, research. The internet is a marvelous tool for finding out what paint companies work in commercial real estate. Take the time to find and read reviews by businesses that have already used their services.

Make tentative decisions about what painting you would like to have done. However, remember you are looking to hire a company that understands your needs from a professional painting perspective. The experience should be collaborative. Do not be averse to hearing their ideas about how to modernize your business’s façade.

Take the time to meet with your top 3 prospects. Have an idea of what you are interested in having done, then allow their input. Take notes and ask for references, even if there are positive reviews on the internet, after all, sometimes online reviews are less than credible.

Consider the businesses around you. Are you looking to blend in or stand out? Is there a retail or office theme? Are there contractual requirements that will limit your paint options? This should be determined prior to undertaking the painting process. It is your responsibility as a business owner to know the limitations of changes to the storefront you are permitted to perform.

And speaking of contracts, be sure you have one in place that outlines the exact parameters of the painting job that you hire out. Check into the company’s insurance and experience, the timeframe for completion, and responsibility for supplying materials.

There is a lot to consider when pursuing the update of a business store front. We have provided you with a skeletal checklist to work from. If you would like a more complete explanation, the professionals at University Painters are here to work with you! We look forward to hearing from you!

paint, color,house painters
Written by Colleen Kalil

One Brush Is Never Enough

paint, color,house paintersPaint brushes come in a variety of sizes, bristle and handle types. Think all brushes are pretty much the same? Think again. A good brush holds more paint than a cheaper one and will make application easier and faster.

Brush Bristles

There are basically three types of brushes: natural-brushes, polyester brushes, and nylon/polyester brushes. Each brush performs differently depending on the type of paint it’s used with.

Natural-bristle

These brushes are made with animal hair and are best used with oil-based paints, varnishes, and other oil-based finishes. The natural splitting on the tips of these brushes are designed to hold more paint and create a smooth finish.

Polyester bristle

It’s best to use polyester bristle brushes with latex paints, but they hold their shape well when used with any paint and produce a smooth, even finish.

Nylon/polyester blend bristles

The mixture of bristles makes these brushes easy to clean and flexible enough to work with any type of latex paint. Nylon/polyester brushes are durable and keep their shape after continued use. If cared for properly, these brushes can last for years.

Size Does Matter

Choose the brush size depending on what you’ll be painting. A general rule for size is one to two inches for windows and other trim; three inches for gloss paints on doors and cabinets; four inches for large, flat areas. In addition to size, consider the shape of the brush. Slanted brushes create straight lines in corners and on edges, while square edge brushes are good for applying paint on large, flat areas.

Maintenance

Make your brushes last a long time by properly maintaining them after each use. Latex paint cleans up in warm water, while oil paint needs to be cleaned with a solvent. When cleaning a brush after using latex paint, hold the brush under warm running water, spread the bristles, and push them against the bottom of the sink to clean brush from tip to handle. For oil paint, swish the brush from side to side in the solvent to remove paint. Use a fresh container of solvent for the final rinse. Dry brushes flat to maintain the proper shape and never store brushes with the bristle end down.

The technicians at University Painters use the finest equipment to produce quality results all around your home. Call or go online to schedule an appointment today.

interior painting,House Painting Pressure Washing
Written by Colleen Kalil

Repairing and Repainting After Water Damage

interior painting,House Painting Pressure WashingIf you’re a homeowner, chances are you’ll have to deal with water damage at some point in the life of your home. The causes of water damage vary from the effects of bad weather to frozen pipes to antiquated plumbing. Regardless of the cause, it’s important to do a thorough job of repairing the damage to prevent additional problems in the future.

Consider The Source

Before any repair work can be started, find the source of the water damage. Make sure the repairs are made properly and quickly. Wet materials can begin to develop mold and mildew in as little as 24 hours.

Ceiling Damage

Ceiling damage can cause paint to peel and bubbles to form. Once the source of the water is repaired, examine the damaged area. Remove any peeling paint or bubbles. If the drywall is sagging, let it dry completely. Check to make sure it is still attached to the beams and use drywall screws to restore it to the correct position.

Clean any visible mold or mildew from the damaged area. Use filler or putty to create a flat surface wherever peeling paint or bubbling was removed, then sand it smooth. Next, apply a stain blocking primer to any area that is discolored and let it dry completely. If you don’t apply stain block, the original stain will bleed through the new paint. It’s best to repaint the entire ceiling to prevent patches of different colored paint.

Wall Damage

If the wallboard doesn’t need to be replaced, check to make sure it’s still attached to the studs. Scrape off any peeling paint or drywall putty then clean the surface. If there is any mold or mildew, use bleach and water or a solution specifically designed to combat mildew. Let the area dry completely, then apply a fresh coat of paint. If the existing paint has faded, you may need to repaint the entire wall or room to maintain consistent color.

Repairing water damage can be a time consuming process. Save yourself the aggravation and leave it to the professionals at University Painters. Call or go online to schedule a free consultation today.

painting services,house painters, interior painting
Written by Colleen Kalil

What to do with Leftover Paint

painting services,house painters, interior paintingLeftovers! Nobody likes them. Not in your fridge and not in your garage. It seems no matter how well you plan a project you are left with an inch of paint in the bottom of the paint can and your first inclination is to tuck the lid back on and tuck the can in some lost corner of the carport.

You know you shouldn’t just toss it in the garbage or pour it down the sink (or should you – read on to find out what the experts say). There are proper ways to dispose of paint. Here are some suggestions that should make the task a little more ‘palatable’.

  •          Pour the leftover paint into a smaller container such as a food or beauty dispenser that is empty and washed out. This will make the paint remains more manageable than collecting piles of cans of nearly empty paint. To ensure it stays fresh, cover the lid with plastic wrap and tighten the lid so no air can get in. If it’s possible, store the container upside down which will further prevent exposure to air. Be sure and label the container with the color, the date it was purchased, and its original use.
  •         If you have leftover paint that is not oil-based, then it is usually permissible to throw it away with your regular garbage. Home improvement retailers suggest you leave the paint opened to the air, so it will dry in the can. Then pour kitty litter in to absorb any leftover paint, replace the lid tightly, and include it in the week’s refuse.
  •        If you are not permitted by city ordinance to dispose of paint through normal trash collections, then search your local listings for professional companies that will either pick up the paint or provide drop-off points for you to deliver it. Many cities consider paint to be a hazardous waste and do not want it seeping into the water table. Therefore, special processes are in place to dispose of it in the least environmentally hazardous way possible.
  •         Consider donating your leftover paint. Organizations such as Habitat for Humanity are happy to take that paint off your hands. In fact, they have begun to partner with municipalities to recycle paint and sell it!

If you are looking for painting professionals – the experts at University Paint invite you to contact us today. We will be happy to speak with you!

Exterior Painting, Home Painters
Written by Colleen Kalil

Summer Time Is Painting Time

exterior painting, home painters
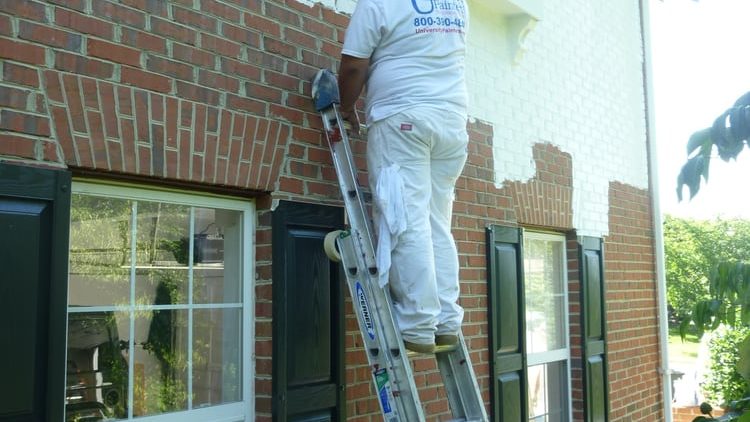
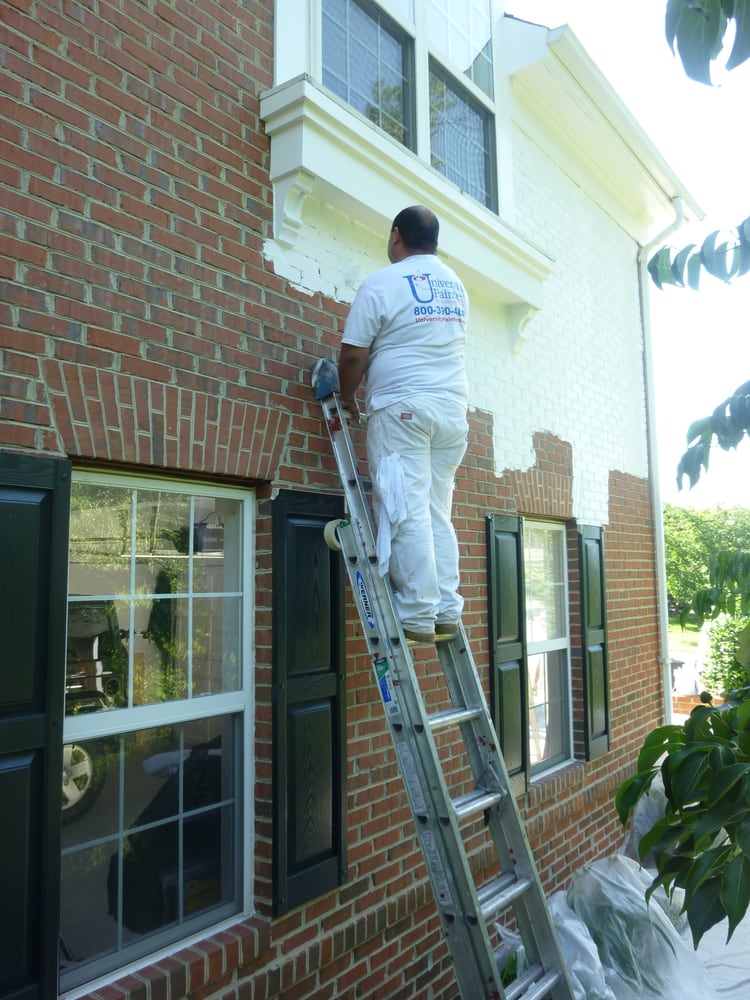
Summer can be a great time to complete home improvement projects, especially if they’re outdoor projects. If you’re thinking about painting your home’s
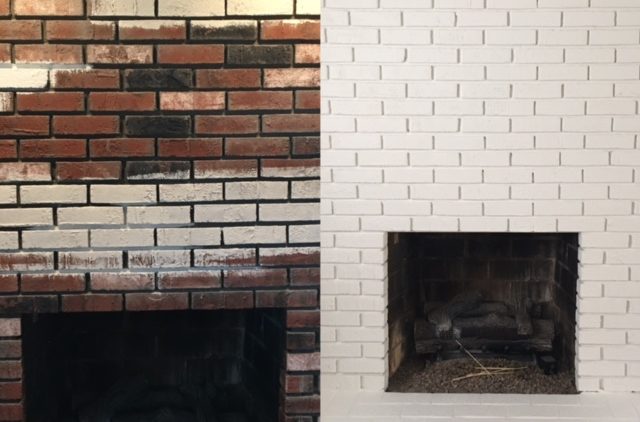
 exterior, consider the following tips to get the best results.

1. Prepare. For the best results, take the time to prepare the painting surface. It should take as much time to prepare as it does to paint. Wash off dirt or mud, scrape or sand any peeling paint, treat areas that have mold or mildew, repair any gouges, cracks, or other damage. The extra effort will be worth the time spent.

2. Time of day. Spend as much time as possible painting in the morning before it gets hot. Evenings are good a time to paint as well, but even after the sun goes down, the exterior of your home retains heat.

3. Wind. If the weather forecast predicts breezy or windy conditions, postpone your painting. Blowing dirt and debris can stick to wet paint. If that happens, you’ll be back at square one sanding and scraping paint. The same goes for rain. Avoid painting either before or after a storm.

4. Sunlight. Don’t paint in direct sunlight. The sun can increase the temperature of your home’s exterior by 10 to 15 degrees. It may affect how well the paint adheres to the surface. Schedule painting time so you can be in the shade throughout the day. It’s some times referred to as “following the sun”. Take advantage of overcast days to do as much painting as possible.

5. Temperature. The optimal temperature for painting is around 75 to 80 degrees with less than 50% humidity. Avoid painting on the hottest days. If paint dries too fast, which means the water portion of the paint is evaporating too quickly, it can cause cracking or peeling. To slow the rate of evaporation, put ice in the bottom of your paint container, cover it with a plastic liner, and then pour in the paint.

For the best results any time of year, contact University Painters. We’re experts in our field and are prepared to tackle your painting project. Call us today for a free estimate.

house painter, Interior Painters ,Exterior Painters
Written by Colleen Kalil

Painting Concrete or Brick Surfaces

house painter, Interior Painters ,Exterior PaintersPainting is a great way to change the look of any surface, whether it’s inside or outside. Almost anything can be painted, including concrete and brick. With the proper equipment and knowledge, you can add to your home’s value and curb appeal.

Concrete Slabs (such as garage floors)

Before you paint a concrete floor, make sure no moisture comes through the slab. Tape around the floor where it meets the wall and wait for a few days. If there’s moisture on the tape, it’s best not to paint it.

If moisture isn’t a problem, sweep out any dirt and debris and wash the floor with a non-residue cleaner. Remove any old, flaking paint and grease spots. Next, etch the floor’s surface with a muriatic acid solution. Follow the manufacturer’s instructions and make sure you have good ventilation. Do not use it in a closed-in space.

Use a latex primer and paint specially made for concrete. Let the primer dry before applying the paint. Follow the manufacturer’s recommendations for both.

Brick

Before you paint brick, remember it’s a one-time decision. It is nearly impossible to remove paint from brick. Make sure it’s a step you want to take.

The best way to begin any painting project is with a clean surface. Use a wire brush to remove heavy dirt or debris and then wash with a solution of warm, soapy water. If you’re painting an entire house, you might be tempted to get out the power washer. That’s not a good idea; you’re likely to end up with gouges in the brick and you’ll damage the grout. Use a wire brush to spot clean and then use a regular hose to clean the area. You can get a foaming sprayer and then go over the surface again with plain water. Let the brick dry completely.

Use a quality latex primer as a first coat and let it dry completely. Next, apply latex paint for masonry using a long nap roller; use a brush to cover the grout. Don’t be in a hurry. Watch for dripping paint. Two coats are recommended for the best results.

University Painters can help you achieve the look you want for your home’s interior or exterior. Contact us today online at University Painters or call 800-390-4848.

exterior painting, interior painting,painters
Written by Colleen Kalil

Know Your Paint Properties

Summer is often the best time to rejuvenate your home. The process of revitalizing the look of your house usually begins with covering the outside with a fresh coat of paint. If you are a paint ‘neophyte’ and inclined to head to the hardware store to pick up your supplies, there is something you should know. There are two basic types of paint – indoor and outdoor and you don’t want to choose the wrong one for the job!

Interior and exterior paint are formulated to meet different expectations. Indoor paint is meant to take the assault of daily living – children and pets, sticky fingers and marks of all sorts. On the other hand, exterior paint is manufactured to withstand the elements including everything from sleet and snow to relentless sunshine and heat in the summer.

One of the main differences between interior and exterior paint is the resin with which it is manufactured. In the case of paint production, is it a highly viscous substance that binds the paint to the surface on which it is being applied. It allows exterior paint to resist chipping, peeling and fading. A stronger resin is used in the creation of indoor paint, so it is less inclined to show scuffs and smears.

Exterior paint goes through a process called ‘outgassing’ which means it lets the surfaces on which it is applied to ‘breathe’ and minute particles of moisture to escape. Interior paint does not need this type of outlet but in either case, with indoor and outdoor painting, be sure you have adequate ventilation.

If you are painting indoor surfaces, it is better to choose a glossy finish because they are easier to clean than a matte finish. When washing down a flat paint, it tends to smear, exacerbating fingerprints and scuff marks, while putting the homeowner in a position where they will need to repaint sooner to keep a clean, pristine look.

Painting is a much more sophisticated undertaking than many people realize. A lot of thought and pre-planning must go into the project before you begin. In other words, getting thunderstruck with the idea of painting your house inside and out should be followed with careful reflection before running to the paint store.

May we suggest hiring professionals as an alternative to taking on the task yourself? The paint experts at University Paints would be happy to meet with you at your convenience and discuss your paint project. We have been servicing this community for over a decade! Call us today.

exterior painting, House Painters
Written by Colleen Kalil

How to Know it’s Time to Paint Your House!

exterior painting, House Painters
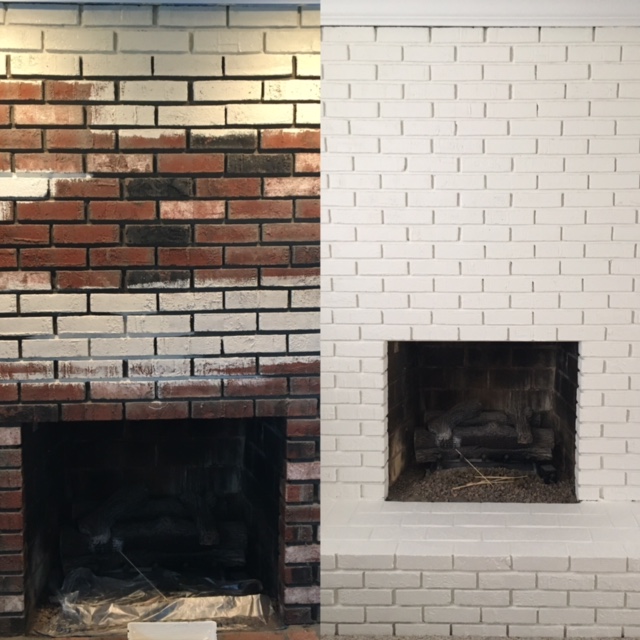
Have you been pulling into the driveway lately and feeling that the house staring back at you seems a bit worn? Is it looking dull? Do the other homes in the neighborhood seem newer and more modern? Perhaps all that you really need is a fresh coat of paint to spruce up the place and make it feel new again – and the same is as true for the inside as outside! Putting a fresh coat of paint on the house or inside is like updating your wardrobe! Here are some sure-fire ways to know when it’s time to paint!

You know it’s time to paint when you see the paint cracking or bubbling. This could actually signal more significant problems underneath the paint such as dry rot or mold. Both of these are issues that will cause long-term and significant damage if they are not addressed.

Check the caulking on the windows outside (and inside). Dried and cracked caulking is also an indication you need to take a closer look at the condition of the home and spruce it up. Upkeep is often cheaper than letting things deteriorate so badly that they cause costly damage to the overall structure.

Is the color of the paint looking dingy? Faded? Perhaps one side of the house gets more sun than the other and that causes discoloration. Weather plays an important role in how the outside of your home holds up. Do a monthly or bimonthly walk around as a way to identify problems with the paint and/or structure.

Paint your home – just because. Because you have lived there for a few years and want a change. Because you found a color you like better and think it will give the home greater curb appeal (you want curb appeal even if you are not selling the home as it keeps its value elevated). Or because it hasn’t been painted in 7 years or more – the recommended amount of time between paint jobs.

While these are the main reasons for painting the exterior, you may decide to do it simply because you want a change. One sure way that can happen is by putting on a whole new color! Whatever your reason for choosing to paint, when the time comes we hope you will call the professionals at University Paint. We would be happy to provide a quote and provide the highest quality service. We look forward to speaking with you.

1 2 3 4 5