fbpx
interior painting,painters,home,commercial
Written by Colleen Kalil

Preparing to Paint

interior painting,painters,home,commercialFall is a great time to refresh your home’s interior. The weather is cooler and it’s an opportunity to get ready for the upcoming holiday season. The time it takes to prepare properly is well worth it when you see the results.
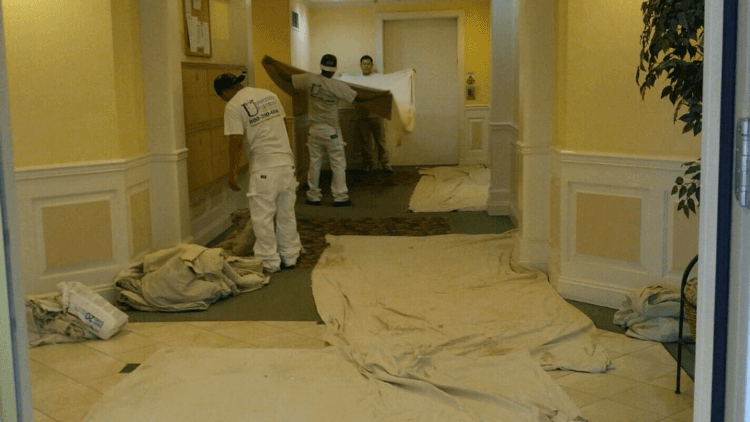
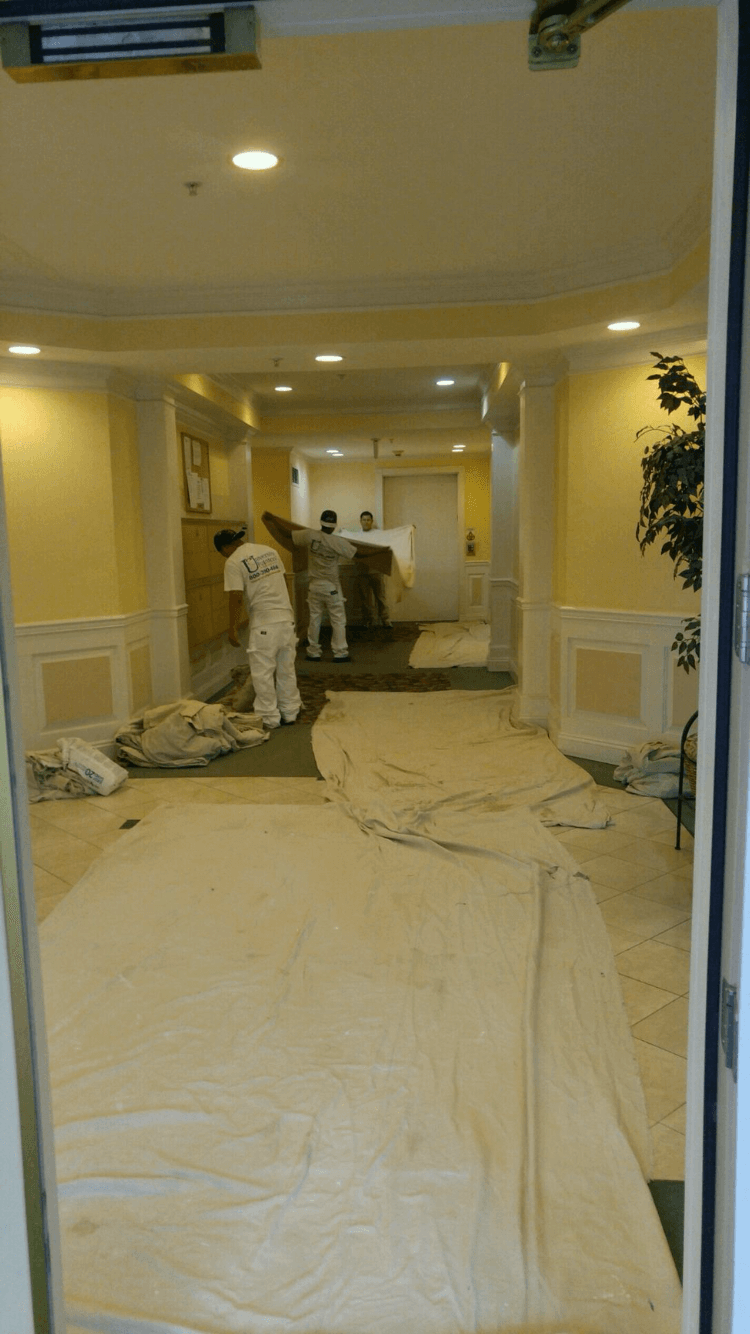
Furniture

If at all possible, remove the furniture from the room and cover the floor with a drop cloth. If you can’t take all the furniture out, push everything into the middle of the room and cover with plastic or another drop cloth.

Cleaning

Before you paint, clean your windows inside and out. It isn’t necessary for painting, but it will add to the freshness of the room. You can also check the frames and glass for any signs of wear or damage. When the windows are done, cover the glass with plastic using painter’s tape to protect them from drips and splatters.

Repair any cracks, chips, or other damage to your walls. If you have to use putty to fill holes, make sure you sand it smooth. If you don’t, you’ll see the outline under the paint. Dust the walls and ceiling if you plan to paint it. Wash the walls with warm water and a little mild cleaner. By removing the dust first, you avoid creating dirty streaks when you wash the walls. Vacuum any vents in the ceiling or in the floor.
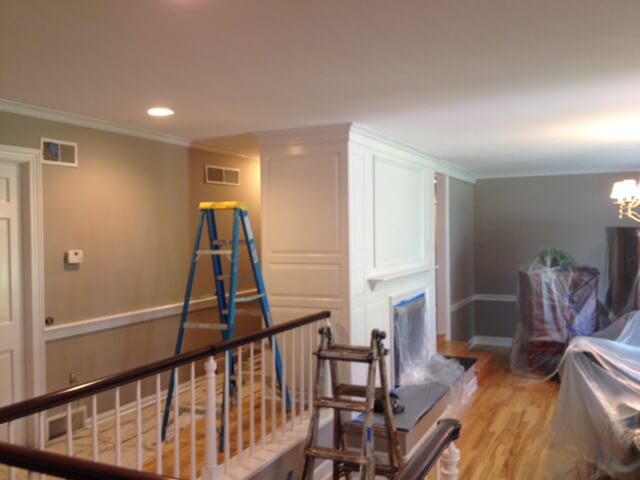
Taping

The best order for painting is trim, ceiling, and walls. Tape around the trim and around the ceiling, then paint. Let the ceiling paint dry completely before taping the top of the walls. Some people hate taking the time to tape, but it saves time and creates a finished look.
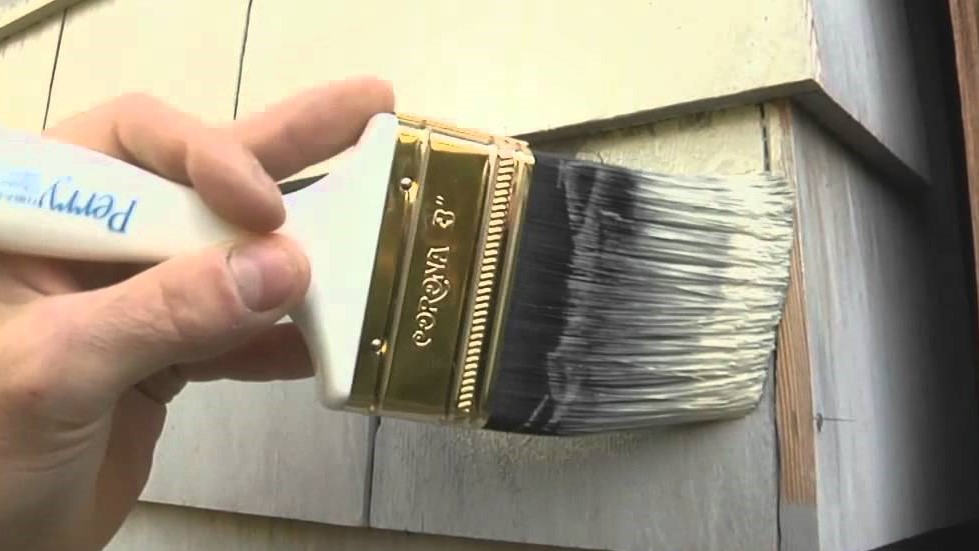
Painting

If the current wall color is very dark and you’re applying a lighter color, prime the walls first. However, some brands of paint include primer or the texture makes primer unnecessary. Using a small brush, cut into the corners of the room, where the ceiling and wall meet, and around the trim. Do this for any place your roller won’t be able to reach. Paint the walls using a “W” pattern starting in one corner and covering a 3′ x 3′ area. This reduces visible seams where the paint overlaps.

Drying

Most latex paint dries to the touch in a few hours, but you shouldn’t let anything rest against the wall or wash it for at least 48 hours.

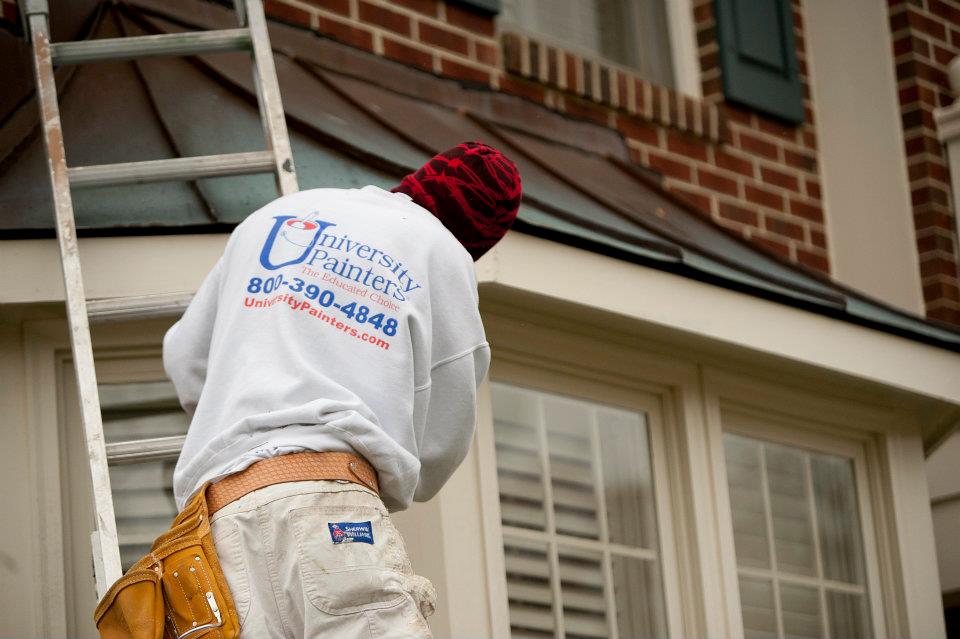
The professionals at University Painters take the time to prepare every surface in your home to achieve the best results. Call us today and schedule your fall refresh today.

Exterior Painters,paint,painting company
Written by Colleen Kalil

Prepping Your House for that New Exterior Paint Job

Exterior Painters,paint,painting company
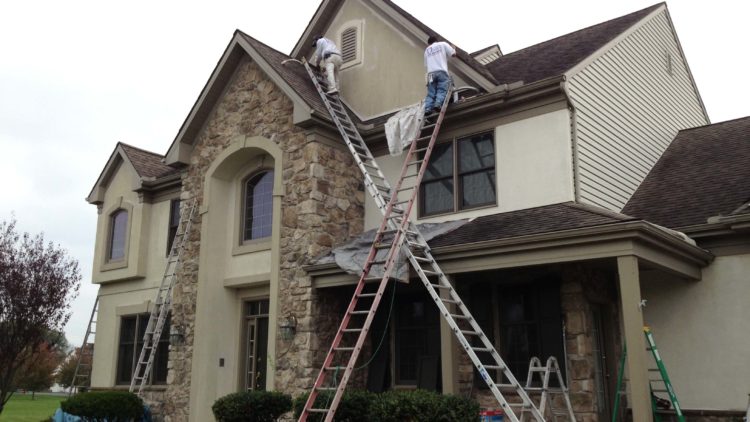
You’ve finally decided it’s time to spruce up the outside of your home. Maybe you are getting ready to sell it or maybe you just want to have a house that looks good inside and out. Well, everyone knows you need to pick out the color. That’s the fun part of the job. But there’s more to painting a house than putting on paint. There are a number of steps that must be taken to be sure the surfaces are prepped and ready to receive the color and reflect it in the best way possible for years to come. Let’s consider these steps more closely.

  1. Trim back shrubbery, trees and other landscaping so they do not become part of the paint job.
  2. Begin the painting process by cleaning the entire exterior of your home completely. You want the house to be fully clean so the paint doesn’t dry with dirt and other pollutants mixed in. The best way to do this is to power wash your home. If you do not own a power washer, they can be rented at most home repair and construction stores. Use a cleaner or additive only if you find mold and stains.
  3. Allow at least 24 hours for the exterior to dry thoroughly before beginning the next step, which requires a paint scraper and patience. Methodically move around the entire outside of the house scraping paint chips and flakes. These become quite obvious if they are painted over and not removed beforehand.
  4. Caulking is the next step. Here too, patience and attention to detail are necessary. The most expedient way to carry out this task is to fill cracks with caulk until it seeps beyond the edge, then wipe away the excess with a damp rag.
  5. If you have been cataloging areas of the exterior that need repairs, this is the time to complete them. Rotted boards or other problems that are too difficult to handle on your own require calling in a professional, such as a painting contractor, to complete the job.
  6. Next, prime the house with a quality primer. It seals the wood from the elements and will help make your paint job last longer.

Now it’s time to paint! Or you could hire the painting professionals at University Painters. We have been in the business since 1986 and we’ll treat your home as if it is our own! Contact us at  800-390-4848 for more information.

interior painting,House Painting Pressure Washing
Written by Colleen Kalil

Repairing and Repainting After Water Damage

interior painting,House Painting Pressure Washing
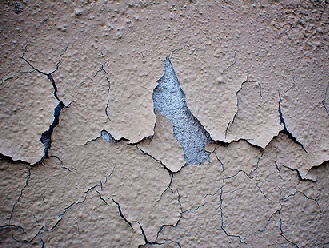
If you’re a homeowner, chances are you’ll have to deal with water damage at some point in the life of your home. The causes of water damage vary from the effects of bad weather to frozen pipes to antiquated plumbing. Regardless of the cause, it’s important to do a thorough job of repairing the damage to prevent additional problems in the future.

Consider The Source

Before any repair work can be started, find the source of the water damage. Make sure the repairs are made properly and quickly. Wet materials can begin to develop mold and mildew in as little as 24 hours.

Ceiling Damage

Ceiling damage can cause paint to peel and bubbles to form. Once the source of the water is repaired, examine the damaged area. Remove any peeling paint or bubbles. If the drywall is sagging, let it dry completely. Check to make sure it is still attached to the beams and use drywall screws to restore it to the correct position.

Clean any visible mold or mildew from the damaged area. Use filler or putty to create a flat surface wherever peeling paint or bubbling was removed, then sand it smooth. Next, apply a stain blocking primer to any area that is discolored and let it dry completely. If you don’t apply stain block, the original stain will bleed through the new paint. It’s best to repaint the entire ceiling to prevent patches of different colored paint.

Wall Damage

If the wallboard doesn’t need to be replaced, check to make sure it’s still attached to the studs. Scrape off any peeling paint or drywall putty then clean the surface. If there is any mold or mildew, use bleach and water or a solution specifically designed to combat mildew. Let the area dry completely, then apply a fresh coat of paint. If the existing paint has faded, you may need to repaint the entire wall or room to maintain consistent color.

Repairing water damage can be a time consuming process. Save yourself the aggravation and leave it to the professionals at University Painters. Call or go online to schedule a free consultation today.

house painter, Interior Painters ,Exterior Painters
Written by Colleen Kalil

Painting Concrete or Brick Surfaces

house painter, Interior Painters ,Exterior PaintersPainting is a great way to change the look of any surface, whether it’s inside or outside. Almost anything can be painted, including concrete and brick. With the proper equipment and knowledge, you can add to your home’s value and curb appeal.

Concrete Slabs (such as garage floors)

Before you paint a concrete floor, make sure no moisture comes through the slab. Tape around the floor where it meets the wall and wait for a few days. If there’s moisture on the tape, it’s best not to paint it.

If moisture isn’t a problem, sweep out any dirt and debris and wash the floor with a non-residue cleaner. Remove any old, flaking paint and grease spots. Next, etch the floor’s surface with a muriatic acid solution. Follow the manufacturer’s instructions and make sure you have good ventilation. Do not use it in a closed-in space.

Use a latex primer and paint specially made for concrete. Let the primer dry before applying the paint. Follow the manufacturer’s recommendations for both.

Brick

Before you paint brick, remember it’s a one-time decision. It is nearly impossible to remove paint from brick. Make sure it’s a step you want to take.

The best way to begin any painting project is with a clean surface. Use a wire brush to remove heavy dirt or debris and then wash with a solution of warm, soapy water. If you’re painting an entire house, you might be tempted to get out the power washer. That’s not a good idea; you’re likely to end up with gouges in the brick and you’ll damage the grout. Use a wire brush to spot clean and then use a regular hose to clean the area. You can get a foaming sprayer and then go over the surface again with plain water. Let the brick dry completely.

Use a quality latex primer as a first coat and let it dry completely. Next, apply latex paint for masonry using a long nap roller; use a brush to cover the grout. Don’t be in a hurry. Watch for dripping paint. Two coats are recommended for the best results.

University Painters can help you achieve the look you want for your home’s interior or exterior. Contact us today online at University Painters or call 800-390-4848.

exterior painting, home painters
Written by Colleen Kalil

Painting Wood Shingles

exterior painting, home paintersWood shingles, especially cedar shingles, can be a popular choice for the exterior of your home. With proper stain, they are long-lasting, weather and insect-resistant. You do have the option to paint shingles, but special preparation is needed. Wood absorbs paint faster than other surfaces and has to be specially primed. Even the best paint will soak into the wood without the proper base.

Because shingles may weather differently, check to see if any are damaged and need to be replaced. Shingles also mildew rather quickly and should be cleaned thoroughly before painting. To prepare singles for painting, the shingles need to be washed to remove dirt and mildew.

To clean wood shingles, a sponge, household bleach, and water are what’s called for. Using a solution of 1 part bleach to 3 parts water, apply the solution to mildewed areas with a sponge and leave for 15 minutes, then rinse thoroughly. Let the shingles dry and be aware that it can take up to two weeks for shingles to dry completely.

When the shingles are dry, use a scrub brush to remove any old wood or dirt and brush the residue off with a wide paint brush. Next, apply a stain blocking primer with a four to six inch brush. Shingles need to be coated evenly. If you choose to use a sprayer, use even strokes moving in different directions for complete coverage.

The final step is to paint. Acrylic latex exterior paint is a good choice and will last for many years. As with the primer, the paint should be applied in all directions and completely cover the shingles. Work in a limited area, approximately 20 feet square, and then move to the next section.

University Painters are licensed, qualified, and knowledgeable about all types of finishes for the exterior of your home. We can work with you to create the look you want for your home. Contact us today at 1-800-390-4848 for an appointment.

interior/exterior painting, painters,
Written by Colleen Kalil

Not All Paint Is Created Equal

interior/exterior painting, painters,Paint is paint, right? Not true. There are various types of primers and paints and they can be used to their best effect when you understand the difference.

Basically, there’s oil-based paint versus water-based paint; each has different properties and uses. In some states, the use of oil-based paint has been banned due to the level of VOCs (volatile organic compounds), but it hasn’t been removed from use in all areas. Oil-based paint takes longer to dry, has a stronger odor, and requires more harsh cleaners, such as turpentine or mineral spirits to remove. Once it’s on the wall or another surface, there are a few disadvantages. It tends to become brittle and could crack and peel. It’s also susceptible to fading and becoming chalky when exposed to prolonged periods of sunlight. On the positive side, oil-based paint is less sensitive to environmental elements such as water and humidity, takes abuse better, and looks good longer.

Water-based paint, also referred to as latex or acrylic pain, cleans up with soap and water and is gentler on the environment. Water-based paint comes in a larger variety of colors than oil, is chip-resistant, and can achieve a high gloss finish. It has become the industry-standard but it does have a few drawbacks. Water-based paint is more difficult to dry in humid climates, and doesn’t take the punishment of heavy traffic as well as oil-based paint. One option that has the benefits of water-based paint and the lasting power of oil-based paint is acrylic enamel. It’s not a mixture of oil and water-based paint as it uses acrylic as the binding agent.

There are also specialty paints for difficult areas with properties such as being flame retardant, mold and mildew resistant, and resistant to condensation. When hiring a professional, ask what type of paint they use and discuss the pros and cons of each. University Painters always use quality materials and are experts in their field. You can count on them to help you make the best choices for your home inside and out. Visit www.universitypainters.com or call 800-390-4848 for a free consultation.

exterior painting, home painters
Written by Colleen Kalil

Preparing Your Home For An Exterior Paint Job

Nearly half of the painting process for painting the exterior of your home is preparation, so make sure to follow these steps to guarantee that the exterior paint will look great and last.

Wash Your Home’s Exterior

Wash your house’s exterior from top to bottom prior to having it painted. A thoroughly washed surface can maximize the adhesion of the new paint to the exterior surfaces. Consider renting a power pressure washer, which can save you hours of time and effort you would otherwise spend with hand washing. You can wash your exterior with regular tap water; use clean additives only when there is mold and heavy stains. Allow your home to dry for at least one day prior to having it painted.

Make Repairs

Paint isn’t the solution to damaged or rotten surfaces of your home. It will only cover the unsightly marks. Repair any damaged areas of your home first prior to painting it. You may do this on your own but there are instances when you have to seek help from a carpenter or a handyman. Get professional help when the job calls for replacement or repairs of crucial parts of your house, such as stairs or overhangs.

Trim Nearby Plants And Trees

Be sure to trim the trees, plants and bushes close to your home before getting your exterior painted. This will provide enough space to work outside around the house without the painters having to brush off branches and thorns that can potentially injure them. Trimming plants that are in close contact to your home can also prevent foliage from hitting the wet paint once applied.

Scrape Away Flaking Paint

After washing your home’s exterior, you need to scrap and sand away any loose paint. Taking off this old flaking paint may involve a lot of work but this is a crucial step. The condition of the surface that needs to be painted will determine the success of the project.

Houses built before 1978 may also have lead paint, so scraping and sanding the exteriors of these homes need to be done with care.

Prepping your home prior to a painting job will require a lot of work. Fortunately, these tasks can be included in your painting project when you hire a professional. This can help you save a great deal of time, effort and money. Contact us here at University Painters for professional painting services.

House Painter Exterior Painting
Written by Colleen Kalil

Benefits Of Exterior Painting You May Not Be Aware Of

People paint the exterior of their house primarily for aesthetic purposes and to increase the value of their home but there is more to giving your house a colorful touch-up. Here are some other benefits of exterior painting:

Protects Your Home From Harsh Weather

Your home is constantly exposed to extreme temperatures and the damaging elements that they bring. A fresh protective coating serves as a barrier that can protect your residence from an extremely cold winter and a hot summer. 

Read More
Interior painting, Home painters,, repairs
Written by Colleen Kalil

Most Common Causes Of Peeling Paint

Paint may start to peel off of interior walls or exterior surfaces of your home regardless of when it was applied. Here are some possible causes and how you can fix the problem:

Poor Adhesion

Paint will start to peel off when it does not adhere properly to the surface underneath it. This happens when the wall was not cleaned and primed correctly.

Mildew, oil, dirt and dust need to be thoroughly removed before painting. If you are painting a wall covered in old paint with a glossy finish, you must use an abrasive cleanser to clean and dull the wall to improve adhesion. If you are painting over a wall with an existing paint type, you need to choose the same type of paint. Oil, latex and water-based paints do not mix well together.

Moisture

The paint will not dry correctly if it is applied to a damp surface. This can lead to premature peeling of paint.

Paint That Has Gone Bad

Peeling can happen if the paint used has already gone bad. Latex paints may no longer be usable when they are left stored in open containers in the garage. They start to develop a strong odor and leave a rough finish on the surfaces that can cause peeling. Cheap paints may also fail and peel sooner compared with higher-end paints.

New Wood

New wood has natural oils that can cause paint to peel off regardless if the wood appears dry when you paint it. Cedar is particularly susceptible to this. Wood that was not properly cured may contain too much moisture.

A wall with peeling paint is an eyesore, as well as a health risk, since areas in your home with flaking paints can become a breeding ground for bacteria and mildew. Ensure you make the necessary repairs as soon as possible.

Fixing peeling paint requires removal of the chipped paint, use of a patching compound, sanding, then use of an oil-based primer.  An easier option to repairing peeling paint is to entrust the job to an experienced professional.

University Painters can help fix peeling paint in your home. Our expert painters can remove old and peeling paint layers then repaint the surfaces using tried and tested techniques that can prevent peeling from happening again. Contact us today to learn more about how we can help you repair peeling paints in your home.

[/fusion_text][/fusion_builder_column][/fusion_builder_row][/fusion_builder_container]