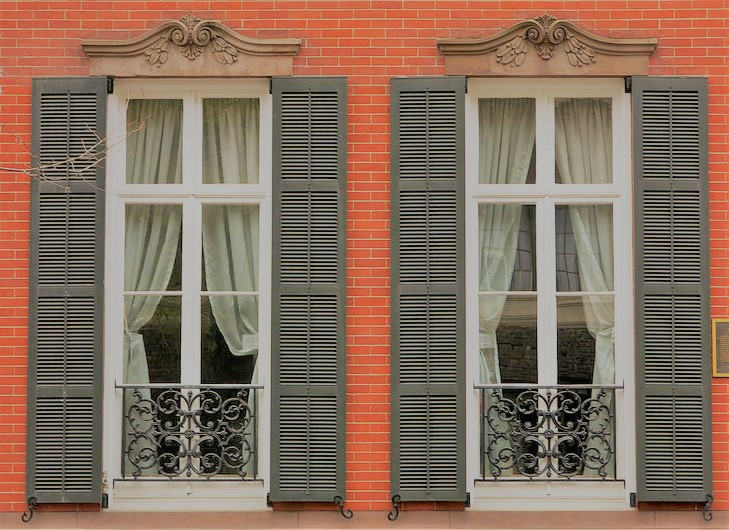
Updating Your Home’s Look for Less
 Does your home seem to look duller these days? You can’t put your finger on it, but it needs to be updated. The whole house is not in need of a paint job. It’s only the shutters that could use a fresh coat. Shutters are a common addition to many homes. They serve many purposes. They can be a decorative addition or may be used to keep harsh sunlight out. If it’s the shutters that you want painted, here are some hints to tackling this job properly.
Choose a complementary or contrasting color that you are going to enjoy. Many people don’t realize just what an important role shutters play in the overall look of the house until they are painted a color that doesn’t look right. Try to find pictures of homes that are similar to yours and are sporting shutters in a color you are considering as a precursor to making the decision.
Clean the shutters thoroughly prior to the painting process. You may need to use a little bleach to rid them of mold and stains. Allow them to dry completely before moving on to the next step.
Just as you would when painting a house, the next step is to scrape off any paint chips or flakes. Otherwise they become part of the new paint job.
Now, prime the shutters just as you would the house. This helps to ensure they are ready to bond with the paint and allows the paint to adhere more thoroughly. A good priming job prior to painting also helps to guarantee a cleaner, brighter look that will last longer!
When you begin the actual painting process, start at the top of the shutter and work your way down. Apply the paint with a lighter stroke so the painted areas do not have tell-tale signs of paint brush marks.
Finally, apply two coats of paint. One will simply not give you the long-lasting paint job you are looking for.
Sound like a lot of work? Too busy to do the job yourself? Then turn to the professionals at University Painters. We have been in the interior, exterior and commercial painting business for 32 years. We will treat your home as if it’s our own.


